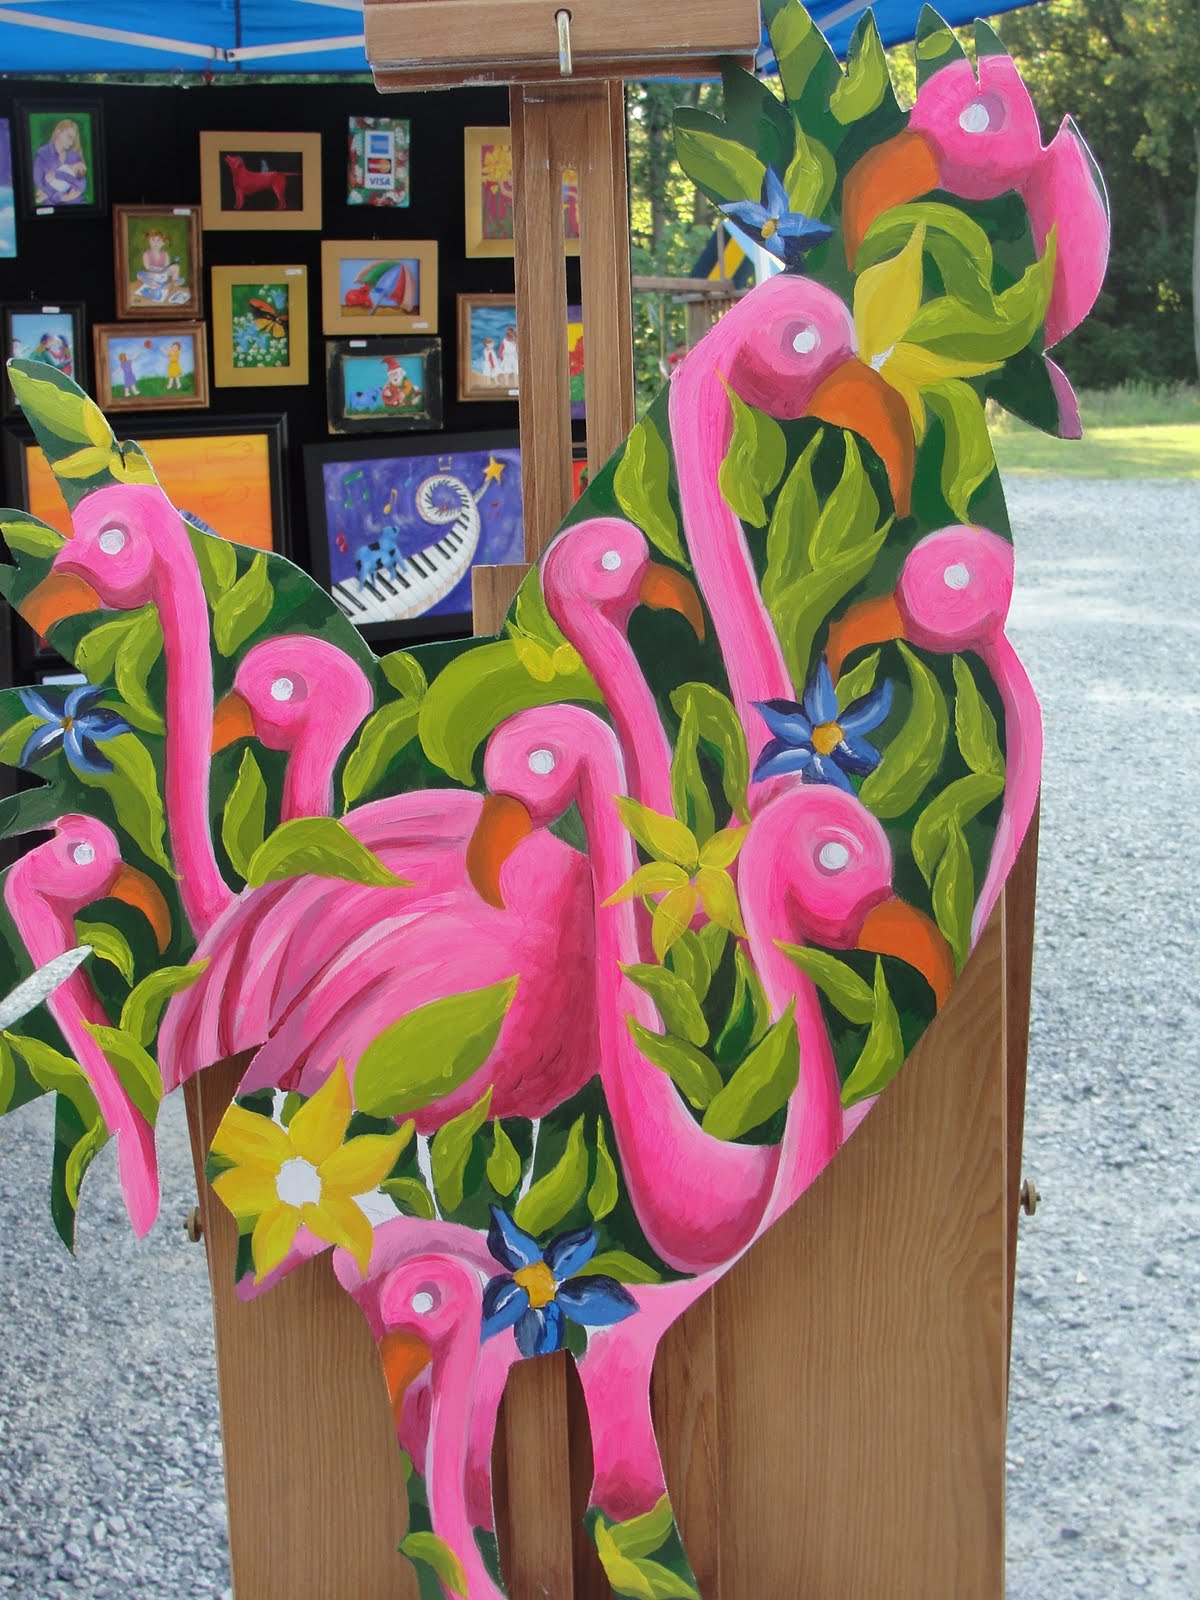
Every artist has their own certain style and way of painting. I have often been asked about mine and I thought that it would be nice to share how I do a painting, more or less step by step. This is a Blu Hen cutout given to me by the Newark Arts Alliance for a fundraiser they are doing now through September. Please go to my Facebook page for bidding info.
After applying gesso to the plywood cutout, I draw my images with a light pencil. I start by mixing acrylic emerald green with a little cadmium red for a deep green background and paint in around the images. Next, I mix that same cadmium red with a transparent rose and white to lay the middle tones for the flamingos
.

Next, I mixed a little ultramarine blue into the pink and red to paint in some of the darks on the flamingos and some cadmium orange light into the beaks.


Next I mix a little viridian with yellow and start painting in some background leaves
overlapping the flamingos in some areas.


From this point I start working the painting back and forth.
I mix some emerald green with some cadmium red to create dark darks in the back ground that will give depth to the painting. I mix cadmium red with the ultramarine and rose to get deep shadows on the Flamingos also adding to the depth and creating a 3 dimensional feel. The transparent rose is just that, so I mix it with some white and go over the flamingoes to get them to give them a solid pink .


Next I go back into the leaves, having mixed highlights with cadmium yellow light and viridian. I start to add flowers, overlapping them in places with leaves and flamingos approaching them in the same manner as the entire painting. Lay in the middle tones, add the darks, then the highlights. I want the flamingoes to kind of glow, so I go over them with a thin wash of the transparent rose a couple of times.


The last thing I do is add the little details of the eyes. I painted the whites, let them dry and used a black sharpy to draw them in, then added the little reflection with white paint. Voila! Done and done! Please let me know what you think of my painting and ask any questions you might have :0)


 y big, tall or exciting. Iwas proud of what I did, but I think Iam progressing very nicely. I have begun making some very cool pot bellied vessels with lids, that are still evolving. some bowls, that are a nice